Planting Shade Trees in Fall. Why it’s the Best Time
Published On: Sep 20, 2018
Updated On: Nov 14, 2023
Share:
Did you suffer through another unbearably hot summer? Did your air conditioner run overtime this summer trying to keep your home cool? Perhaps you should consider planting shade trees this fall and enjoy the cooling and money saving benefits that trees can offer.
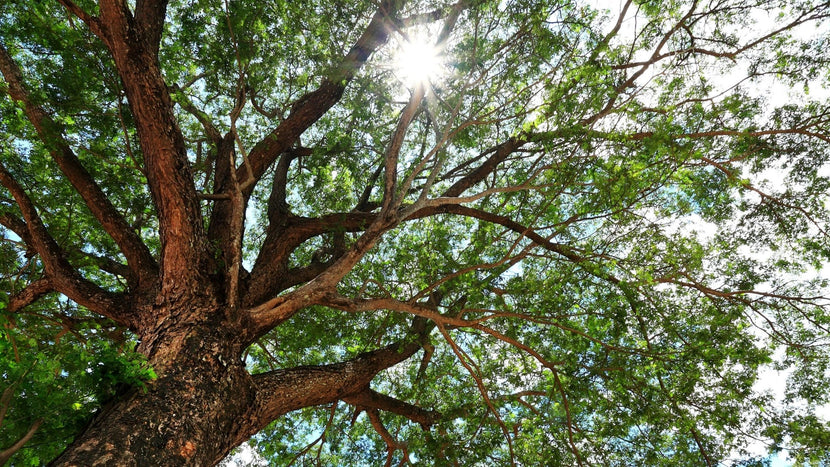
Shade trees, when planted in the correct locations, can shade the roof and windows of your home or office, and reduce the air temperature by as much as 5 degrees all summer. This could potentially save you hundreds if not thousands of dollars over the course of just one year in electric bills.
Fall is the best time to plant shade trees. In the fall trees like most plants begin to enter a state of dormancy. Dormancy in plants is a state similar to hibernation in animals. In the fall and winter trees slow their above ground functions. During dormancy, trees will not attempt to push new growth and the energy is transferred to the underground parts of the tree. During this time root growth is the primary goal of the plant. Trees do this in preparation of putting on new growth in the spring which will need to be supported by additional roots.
Watering requirements are reduced during this time as the ground typically stays cooler and will retain more moisture. Planting techniques remain the same as planting during other times of the year.
Here are 7 steps for successfully planting shade trees
Step 1: Digging the Hole
Dig the hole roughly 6 to 12 inches wider than the existing root ball on all sides. This allows for proper compaction of the amended backfill soil and provides a softer soil for the new roots to grow in. We do not recommend digging the hole deeper than the root ball as if not properly compacted the tree can settle into the soft soil underneath and end up too deep in the hole. I always tell people that nothing will kill a tree (or any plant for that matter) faster than being planted too deep. The hole should be dug so as to have sides that are straight up and down and the bottom should be as flat as possible.
Step 2: Removing the Tree From the Container
Carefully remove the tree from the container by picking the tree up by the base of the trunk and sharply tapping the container top which will dislodge the pot from the root ball. If the roots of the tree have begun to grow around the outside of the root ball take a sharp knife and lightly score the roots in 4 places around the root ball. This will cause new growth to grow outwardly rather than continue to circle the plant.

Step 3: Positioning the Tree
Carefully place the tree into the hole at the proper height. As I mentioned earlier, be careful not to plant the tree too deep as this will lead to the death of the plant. An easy way to accomplish this task is to place the plant in the hole and put a board or yardstick on top of the root ball. The ends of the board or yardstick should be roughly one inch above the existing soil line on the outside of the hole. Do this in both directions to be safe. If it is to low in the hole remove the tree from the hole and place some soil back into the hole and compact it until you achieve the proper depth needed. This is the time when you should add the Espoma Bio-tone fertilizer to the hole as it works best when it comes in contact with the roots of the plant.
Step 4: The Backfill Process
Once you have the tree positioned at the correct height in the hole make sure the tree is straight and begin the backfill process. Backfill soil should be a 50/50 mix of the existing soil which was removed from the hole and good locally sourced leaf compost. If leaf compost is not available in your area you can also use a blend of topsoil and peat moss.
Begin backfilling the hole on all side to a depth of one-third of the root ball and gently but firmly compact the backfill soil around the roots. It is important to remove all air pockets from the backfill soil as you compact. After compacting the soil it will not hurt to fill the hole will water and allow it to drain. This ensures that water will be available to the roots at the bottom of the root ball. After the soil drains continue to fill the hole with backfill soil compacting as you go until the hole is completely filled. Remember you should still see the original rootball of the plant when you’re done backfilling.
Step 5: Staking the Tree
Stake the tree if necessary. Typically this is not necessary if planted correctly however if you live in an area where high winds are a problem, placing a stake on the upwind side of the tree 18 to 24 inches from the trunk is not a problem. If you stake be sure to use an old piece of rubber hose or similar material where the wire contacts the tree to prevent the wire from cutting into the bark of the plant. Remove the stake after 12 to 18 months as it will no longer be needed.

Step 6: Mulching
Mulch the base of the tree with good shredded hardwood mulch to a depth of 2 inches being careful to leave a one-inch gap around the trunk. Prune of any damaged or broken branches at this time as well.
Step 7: Watering
Water well and provide follow up water as needed. In the fall a watering every 7 to 10 days will be more than sufficient.
Types of Shade Trees:
 |
Autumn Blaze MapleThis beauty provides brilliant orange-red fall color. It has an upright, uniform habit with a rapid growth rate. It does well in northern climates but can also be planted well into the deep south. Autumn Blaze maple will tolerate wet soils with good drainage. |
 |
October Glory Red MapleOctober Glory is an outstanding tree that turns bright orange to deep reddish purple color in the fall. It is a tall tree that takes on a nice rounded shape. Typically October Glory will hold its leaves later into the fall than most maples which extend the beauty of the fall color in the landscape. |
 |
Brandywine Red MapleBrandywine maple will turn a glorious burgundy Red color. Brandywine is a good medium sized maple that is adaptable to most any soil condition. |