Tips for Transplanting Houseplants
Gardens are great, but not everyone has the available outdoor space to plant one. Or maybe you do have a garden already, but you’re looking for ways to bring some of that beautiful greenery into your home as well. In both cases, houseplants are the answer.
Houseplants are excellent ways to carry a little nature into your house. They purify the air, some of them give off fragrances and they’re just plain fun and cheerful to look at. Not to mention, they make great conversation pieces.
Of course, like all good things, houseplants don’t come without their fair share of work. You won’t be able to rely on rain to keep them healthy, so you’ll have to develop a regular watering pattern. You may have to move them around your house so they can have a nice patch of sun to sit in. And when they inevitably grow too big for their pots, you’ll eventually have to transplant them into bigger pots.
If you’ve never had any experience with repotting houseplants before, don’t worry. There’s certainly a correct technique to it, but it’s not hard to learn. Today, we’re here to give you our best tips on how to transplant houseplants. We hope to answer any and all questions you might have on the topic, and maybe even answer some questions you wouldn’t have thought to ask.
By the time you’re finished reading this, you’ll be ready to start repotting your houseplants with no fear.
Why Should You Repot Houseplants?
Before we address the all-important question of how to repot houseplants, let’s spend a minute talking about why you should repot houseplants.
While most of the plants that are commonly kept as houseplants are smaller than the plants you’ll commonly find outdoors, that doesn’t mean they don’t grow. Whether your houseplant grows at a furious rate, or whether it grows so slowly that you barely notice it, it still grows. This means eventually it will outgrow the pot it’s in.
A houseplant that has overgrown its pot may begin to experience several negative consequences. The plant’s root systems may become so tightly cramped in the pot that they’re no longer able to efficiently extract the water and nutrients they need to survive from the soil. When this happens, you may start to notice that your plant appears stunted. Older, previously healthy leaves may begin to yellow and fall off. This is because the plant isn’t receiving the nutrients it needs to support the growth that caused it to outgrow its pot in the first place.
When Should You Repot Houseplants?
Now that we know why it’s important to repot houseplants, the next question is when. Is there a specific time of year that’s better than others? Or do you judge solely based on how overgrown the plant looks?
There are a few different answers to that, and you’re likely to have the best results if you combine them.
1. Repot Your Plants During the Spring
This is more of a recommendation and less of a hard-and-fast rule. Your plants will likely not be damaged if you repot them in the fall instead of the spring. However, they’ll receive an extra bonus if you choose to transplant them in the spring.
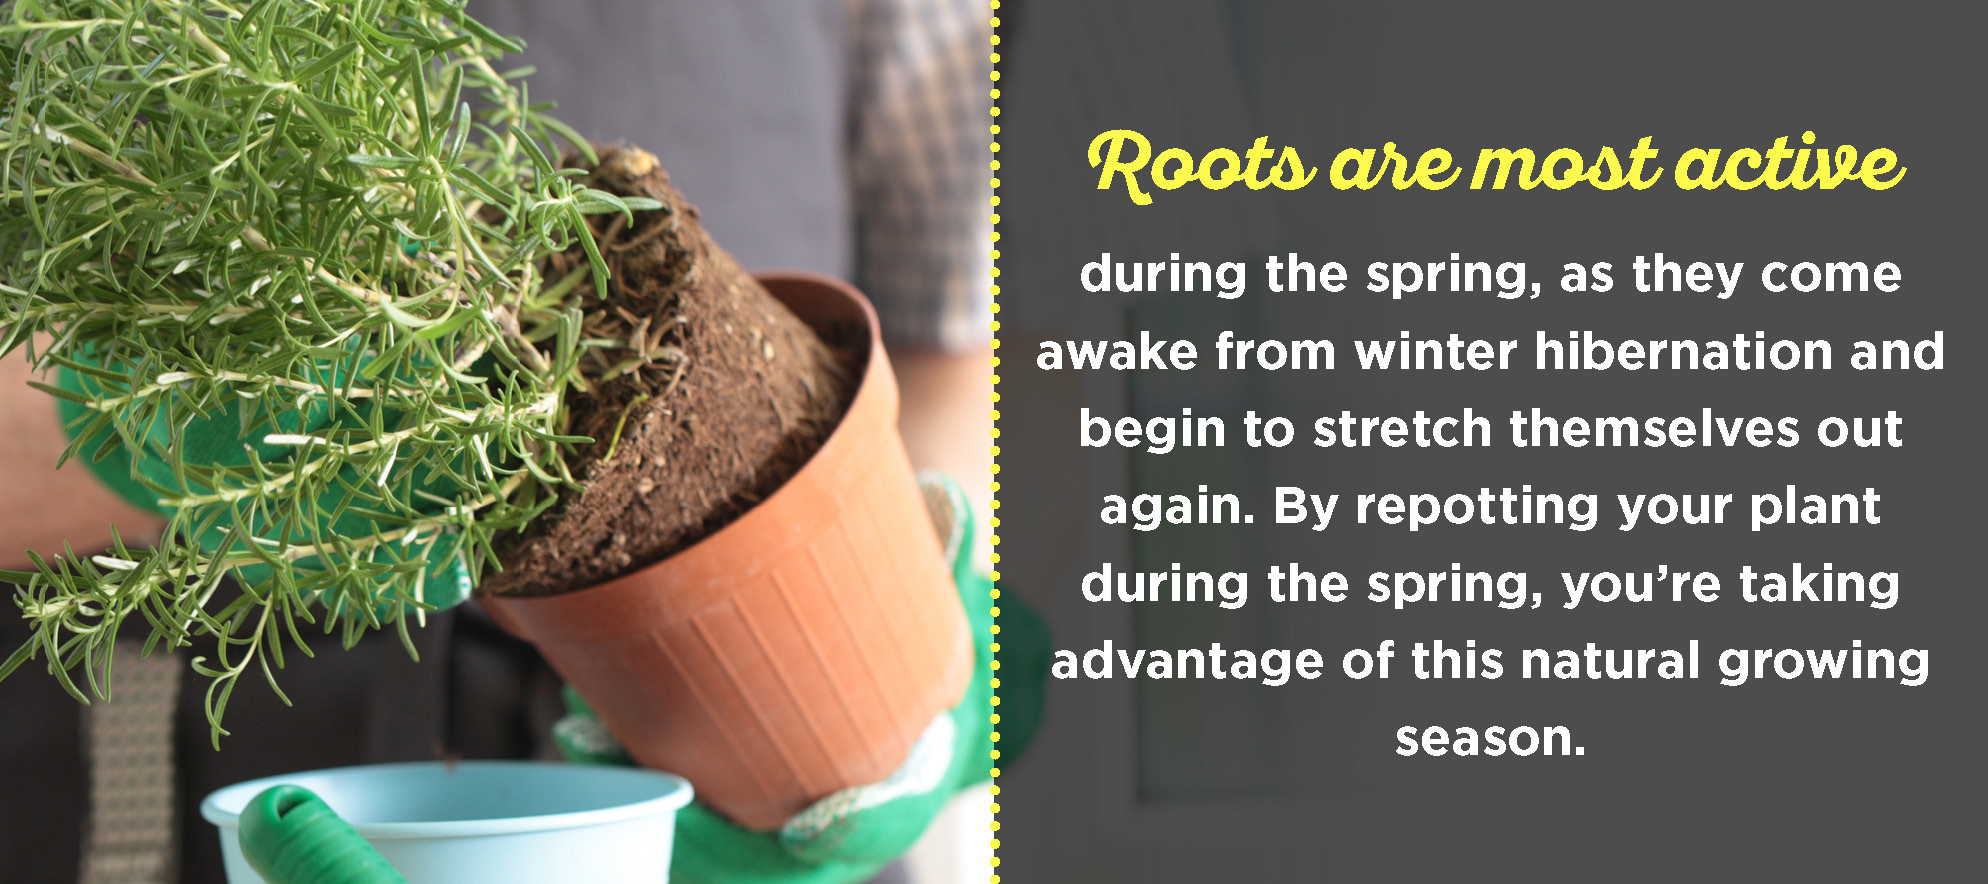
This is because spring is naturally a season of growth and change for plants. Roots are most active during this time of year, as they come awake from winter hibernation and begin to stretch themselves out again. By repotting your plant during the spring, you’re taking advantage of this natural growing season. You’ll repot your plant just as it's beginning to grow again, meaning it will spend the entire spring growing and getting comfortable in its new pot.

2. Repot Your Plants Once a Year
Not every single plant needs to be fully repotted every year. If a plant is extremely slow-growing, it may not need a new pot for several years. This is something that you’ll have to play by ear as you watch the plant grow over the years.
However, every plant could stand to be refreshed at least once a year. This might include repotting the plant into a bigger pot, or it might not. If your plant seems to be doing fine in the pot it’s in now, there’s no need to change it. But it’s still a good idea to refresh the soil with some new dirt at least once every year. While you’re doing this, you might also trim away any roots that look blackened or dead.
By doing this every spring, you’re refreshing your houseplant and giving it a jump start on the year and the growing season, even if you aren’t giving it a whole new pot.
3. Repot Your Plants When They Look Like They Need It
Your plants might not use words, but they definitely talk to you. All you have to do is know how to listen. If you look closely and pay attention, you’ll be able to see that they’re telling you when they need to be replanted. If you notice any of these signs, it could be your plant telling you it’s time for a larger pot:
- Your plant is pale, straggling and seems to have stopped growing.
- The water immediately runs out the bottom of the pot without soaking into the dirt.
- Long, thick roots are tightly bunched together. Note that you’ll need to gently remove your plant from its pot to inspect this.
- The roots are sticking out the holes in the bottom of the pot or poking out through the top of the soil.
- Your plant is top heavy and keeps falling over.
How to Transplant Houseplants
It’s time to roll up your sleeves and start planting. As you get started, here are a few of the tools you’ll need.
- A new pot, preferably with a diameter no more than two inches larger than the old one.
- Potting soil
- Water
- Gardening gloves, unless you don’t mind getting your hands very dirty
- Scissors
- A knife
Once you have these tools assembled, follow these steps to repot your houseplant.

1. Water for a Few Days Prior
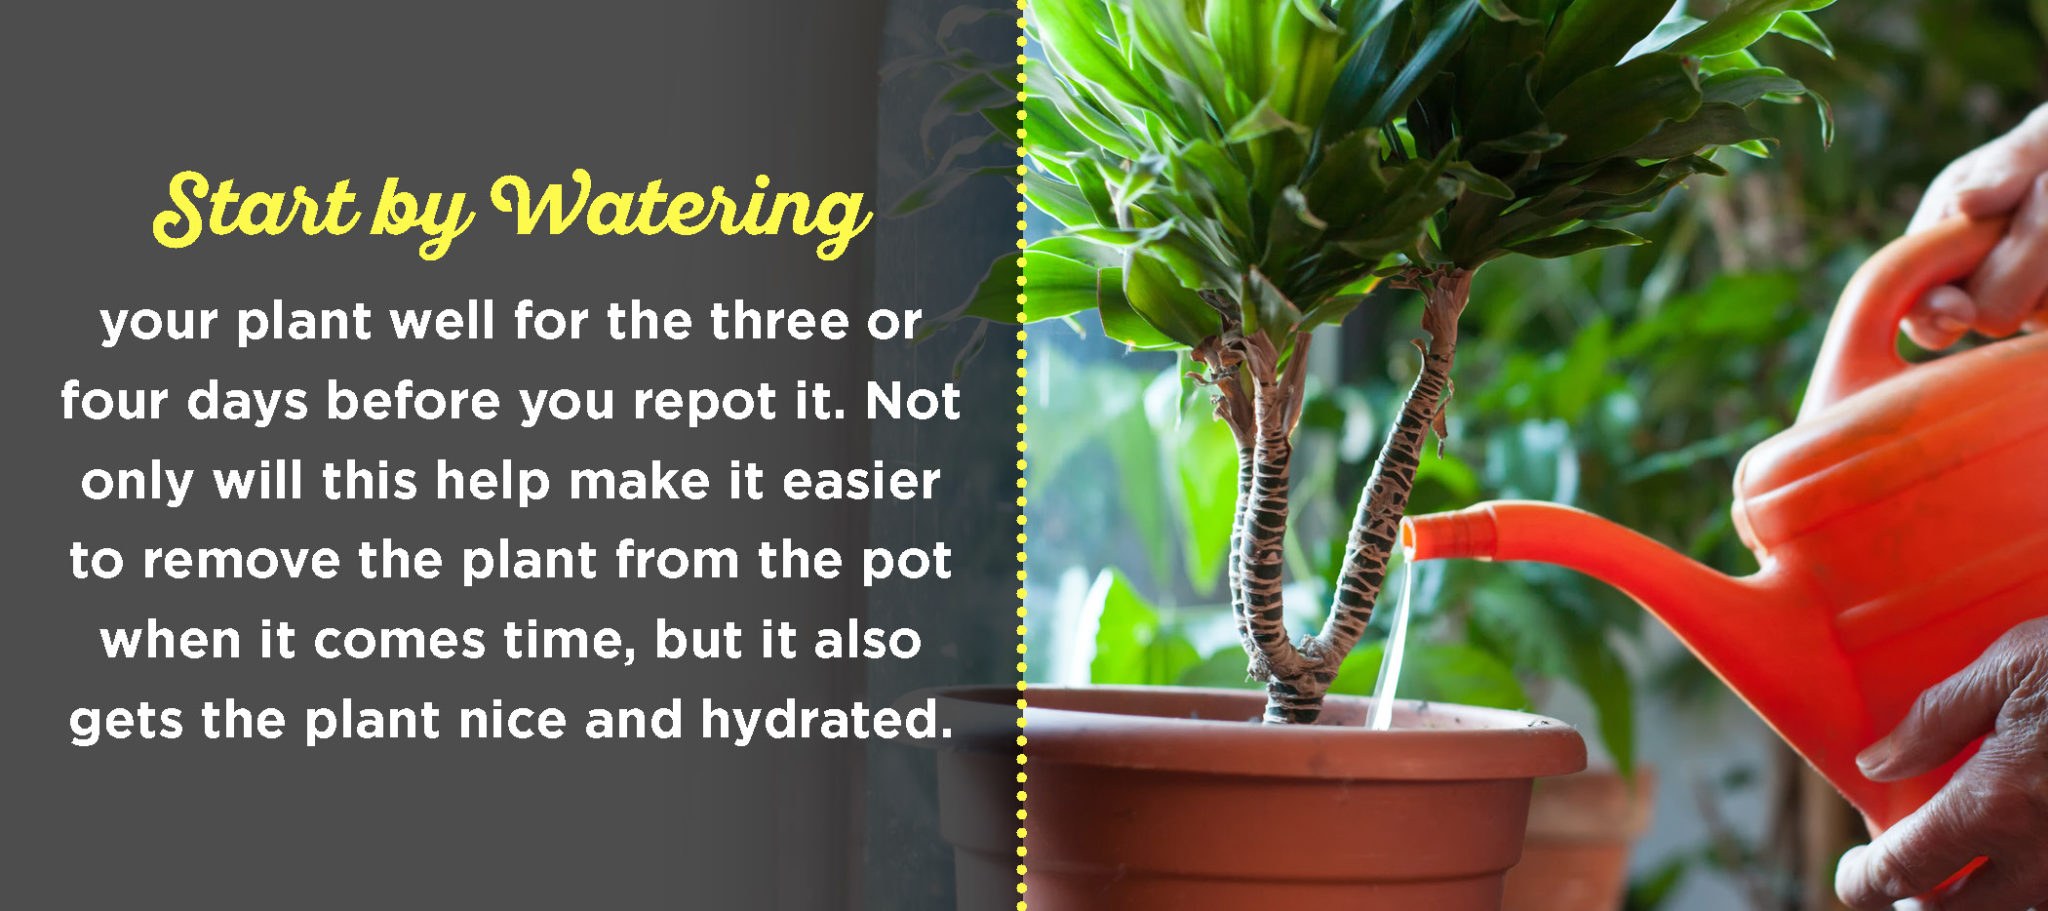
You’ll want to start by watering your plant well for the three or four days before you repot it. Not only will this help make it easier to remove the plant from the pot when it comes time, but it also gets the plant nice and hydrated. This reduces the risk of shock after the transfer has taken place.
2. Set up Your Space
Keep in mind that this is going to be a messy procedure. If the weather is warm enough, you might be best off doing this outside. If that isn’t an option, however, spread out plenty of newspaper to collect all the dirt and leaves that will fall on the ground.
3. Remove the Plant
Carefully invert the pot over your newspapers or your outdoor space. Being very gentle, grasp the plant by its main stem. Tug it slightly, and it should slip smoothly out of the pot and into your hand. If it doesn’t come out easily, try using a butter knife or any other tool with a flat blade to loosen the dirt around the sides of the pot. Once you’ve done this, try gently pulling it out by the stem again.
4. Give the Rootball Some Attention
Now that you’ve already got the plant out in the open, it only makes sense to take this opportunity to check in with your roots and see how they’re doing. Gently shake off any loose soil, being careful not to cause the roots any undue stress in the process. Using your garden shears or scissors, clip away any roots that are noticeably damaged or discolored. If you’re only cleaning up the plant and are putting it back in the same pot it came from, take this opportunity to also prune off up to 25 percent of the roots.
5. Add Soil to the New Pot
Take your fresh potting soil and add a large helping to the bottom of your new pot. Give extra attention to the drainage hole, packing the soil well into place around it. If you’re using a pot that doesn’t have a drainage hole, we highly encourage you to add half an inch of pebbles or charcoal into the very bottom of the pot, underneath the soil.
6. Transfer Your Plant
Next, place the plant into the new pot, on top of the layer of fresh soil you just added to the bottom of the pot. Fill in the sides and any other empty spaces with more potting soil, until the plant is roughly at the same level it was in the old pot. Make sure the soil is firm and packed tightly enough that there are no remaining air pockets, but not so tightly that it will damage the delicate roots. Once everything is in position, water your plant generously.

7. Trim Anything Broken
During the transfer process, it’s possible that a few stems or leaves were broken or damage. It’s possible that this happened even before the transfer process. Either way, this is a good opportunity to give your plant a once over and clean up this kind of damage. Clip off any broken stems and pinch off any dead leaves that you may notice. By the time you’re done, your plant should be looking its best.
What to Expect After Transplanting
After you repot your plant, it’s highly likely that it will enter a period of shock. If yours does, don’t panic. This is an entirely normal reaction to being transplanted, and it doesn’t necessarily mean that you’ve done anything wrong.
During this period of shock, your plant might appear wilted. You might be tempted to water it, thinking it just needs a drink and then it’ll perk up. Resist this temptation. Your houseplant needs time to adjust to its new home. For the best results, wait until at least a week after the transplanting to water it. This week-long recovery period gives any roots that might have been damaged during the repotting time to heal.
While your plant is in this recovery period, it’s also best to leave it out of direct sunlight. The bright light could cause damage to your plant while it’s in this fragile state. Instead, find a cool, shady spot where your plant can rest and recover after being transplanted.
Finally, refrain from using any fertilizer for at least six weeks after repotting your houseplant. Most potting soils contain fertilizer, and while you can always double check to see if the brand you used did, it’s very likely that it did. This means you should hold off on adding any extra fertilizer, so you don’t run the risk of over-fertilizing your newly transplanted houseplant. The roots will be very fragile and sensitive during this period, and can all too easily be burned by fertilizer.
After a recovery period of anywhere from three to four weeks, your plant should have recovered from any shock and should begin growing and thriving in its new pot.
Alternatives to Repotting
There are plenty of reasons you might not want to repot. Maybe you don’t have access to a bigger pot. Maybe you don’t have space for a bigger pot or maybe you just want your houseplant to stay small. Whatever your reason, simply pruning your plant down to size is a viable alternative to potting.
To do this, you’ll have to gently remove your plant from its pot and prune the roots. Use a sharp pruner or a pair of scissors to trim back the outer inch or two of roots in your plant’s rootball. Repot your plant back in its original pot, adding some fresh soil to the mix and watering it well.
To keep your plant proportional, you might also want to consider trimming down the top growth so it matches the newly downsized roots. This method doesn’t work equally well on every plant, however. For example, peace lilies, many cacti, succulents, ferns and other types of plants don’t react well to this type of pruning. For the best results, conduct further research into your plant species before attempting to prune them.
Of course, if you have any houseplants that are simply too large for you to manageably repot, your best course of action is to refresh their soil by adding a little new potting mix. To do this, remove the top layer of soil and refill the pot with your fresh soil mix. While this isn’t exactly repotting, it might be the best option in some cases, and it can still help improve the health of your houseplant.

Shop for All Your Transplanting Supplies Today
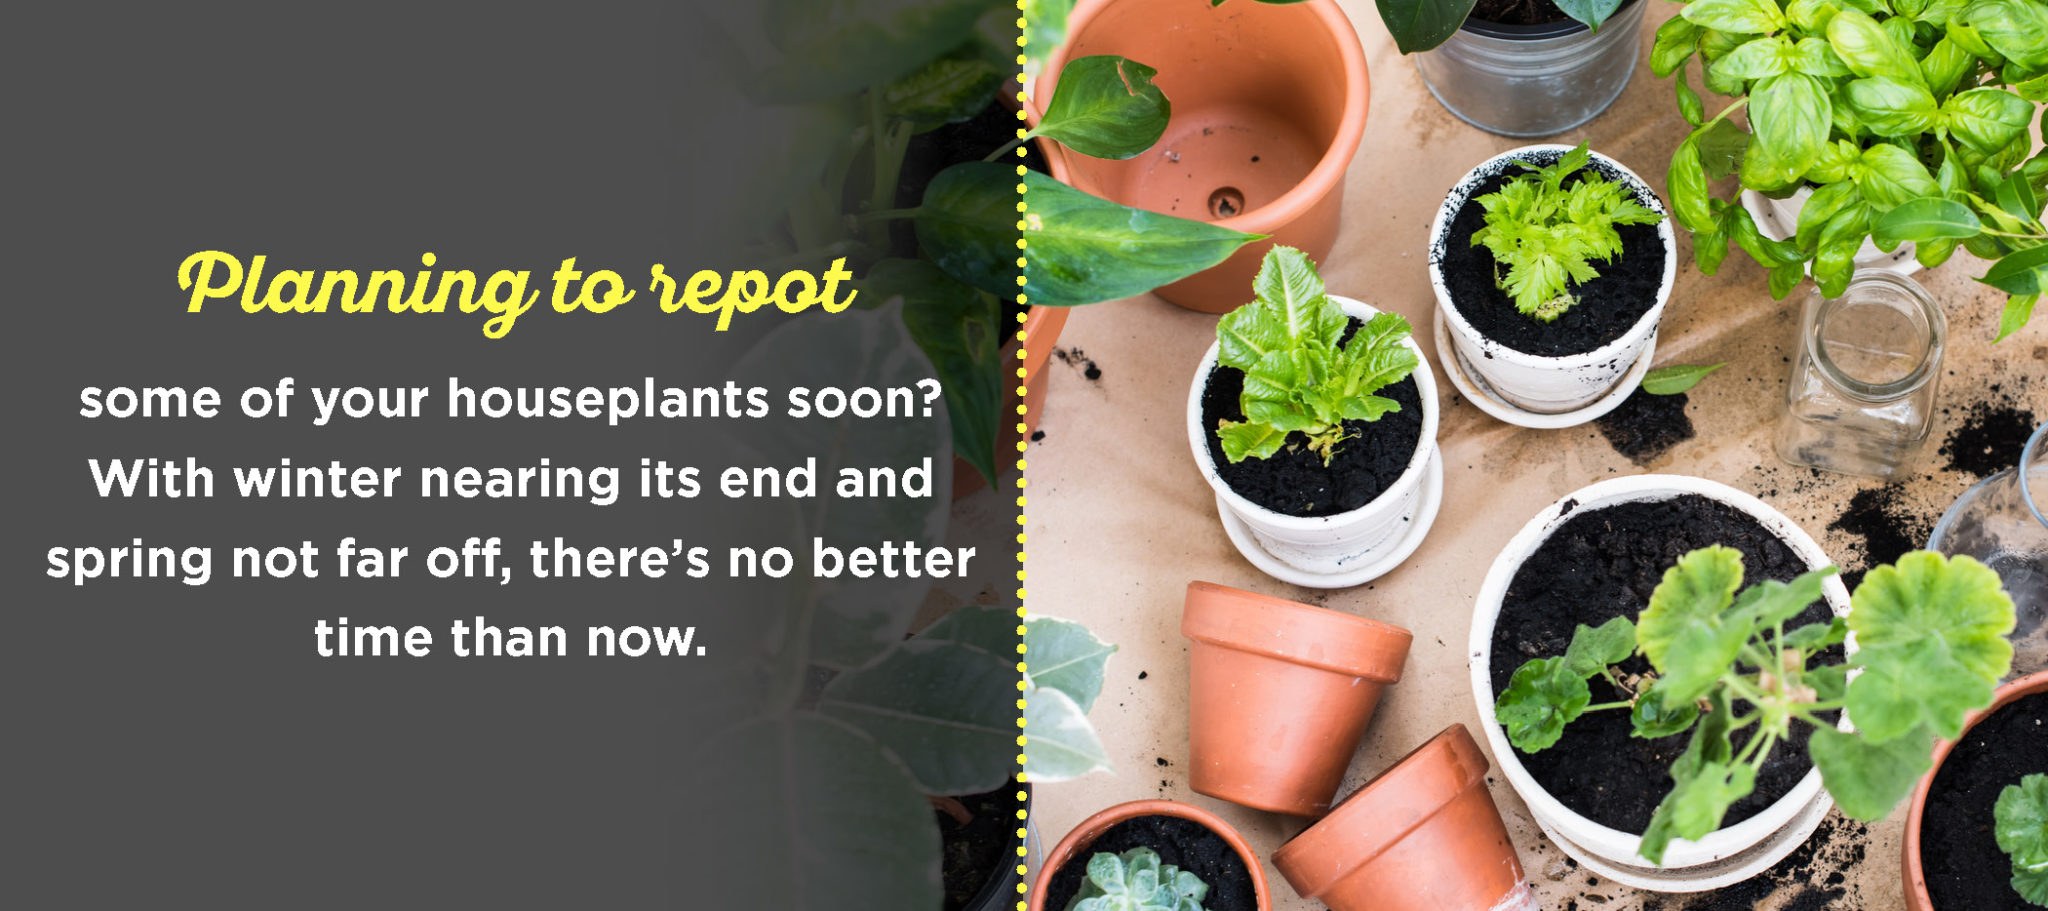
Planning to repot some of your houseplants soon? With winter nearing its end and spring not far off, there’s no better time than now. If you’re looking for exactly the right pot to transplant your houseplant into, we know you’ll find something you like in our selection of pots and planters. And if you’re in the market for a new houseplant, we’ve got plenty of those as well. If you have any questions at all, don’t hesitate to contact us for more information
