Blue Hydrangea Shrubs for Sale Online
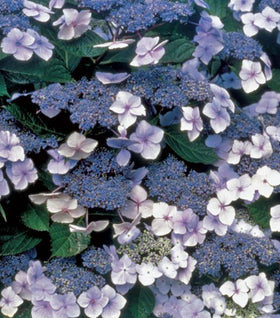
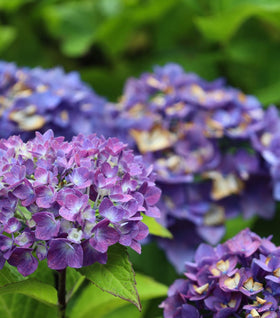
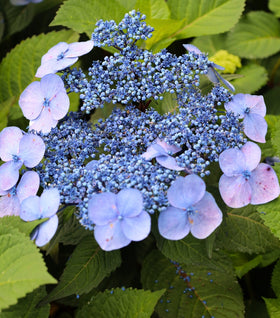
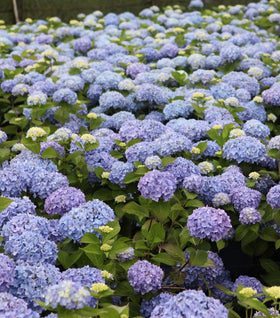
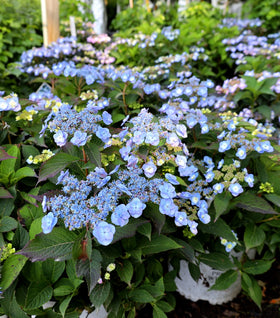
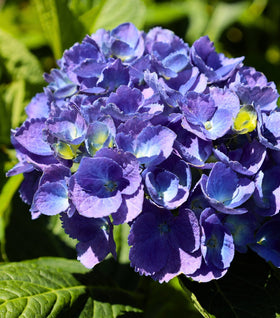
Blue Hydrangea shrubs are a bright and cheerful option to choose when planting in your garden or large containers. Blue compliments pink, purple, yellow, white, and so many other flower colors that you are bound to find the perfect spot for your blue hydrangea in your garden. Their blue flowers come in various shades of light to deep blue with hints of pink and purple.
Hydrangeas are highly tolerant of various soil types and are easy to cultivate. Some of them are particular to soil acidity levels, but only because that could change the color of their flowers. They are a great and inexpensive way to instantly enhance the curb appeal of your home garden or commercial landscape. Their versatility is used for foundation planting, privacy shrubs, or a focal point.


How to Care for Blue Hydrangeas
How to Keep your Blue Hydrangeas Blue
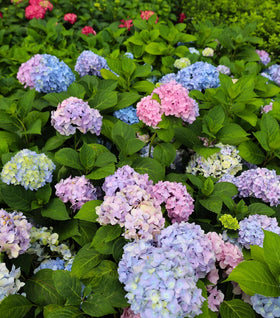
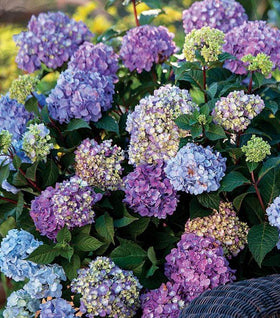
Some Blue Hydrangeas including Endless Summer and L.A. Dreamin can be either pink or blue depending on the acidity of the soil. Add a Soil Acidifier when planting your hydrangea to achieve the desired pH of 5.2 to 5.5.
Find the Perfect Location
The best time to plant your Hydrangeas is when the temperature is mild in the spring or fall. If you are planting in the fall, be sure not to plant too late because the first frost of the season could cause damage if they are not well acclimated yet. If you are planting in the spring, wait until the last frost of the season has come. Doing so will ensure your plant does not encounter cold temperatures or soil. Your hydrangeas will peak bloom in mid-summer through fall.
When you are planting hydrangeas, choose a location in your garden that receives partial shade. We recommend an area that receives at least 5 to 6 hours of morning sunlight each day. For the remainder of the day, this area should receive partial shade. If you live in a warm climate, give your hydrangea only 2 to 3 hours of morning sunlight. Don't forget, hydrangeas grow quite large, so be sure to space them far enough away from each other or other plants to allow them plenty of space to grow to full maturity.
How to Plant Hydrangeas
Start out by digging a hole slightly larger than the container your plant came in. Keep in mind you need to allow your plant plenty of space to spread and grow in your garden. Next, add a small amount of high-phosphorus fertilizer to the bottom of the hole to ensure your plant starts in its new home with lots of nutrients.
Carefully remove your plant from the container, gently loosen its roots with your hands, and place it in the hole. Once the base of your shrub is level with the ground level, cover with soil and water thoroughly. Hydrangeas thrive in moist and loamy soil, so make sure to check regularly to ensure the soil stays perfectly moist.
Hydrangeas Love Water
Hydrangeas enjoy plenty of water, and we recommend keeping them nice and hydrated. However, do not confuse this with constantly watering your plant; this could quickly lead to root rot disease because of overwatering. Your plant's roots will sit in standing water for too long and become damaged, and may even die. Overwatering can also cause your plant not to produce flowers. To check if your Hydrangea needs water, stick your finger 1 to 2 inches deep in the soil, and if it is dry, you can water.
Winter Preparation for Hydrangeas
Hydrangeas have to be protected when winter rolls around. We recommend adding a layer of leaves, mulch, or pine straws on top of your plant's soil about 6 to 8 inches tall. Doing so will help your plant from strong winter winds, cold nights, and temperature fluctuations. Also, it is perfectly fine to prune off any dead blooms and stems to allow space for new growth to occur in the next growing season.
Propagating Hydrangeas
The most reliable way to propagate your hydrangeas is by root cuttings; you will get the most successful outcome. We recommend propagating in the early summer to ensure you are not disturbing their growing season. Cut about 5 to 6 inches from a non-flowering branch and remove the bottom leaves. If there are any other large leaves, cut them in half to reduce the size.
Next, dip the cutting in a powdered rooting hormone and place it in a six-inch pot of potting mix and moist sand. Water thoroughly to ensure your cutting's soil is moist but not soaking. Find a nice shaded area that may receive some bright, indirect light for a few hours a day. You will know your cutting has established and formed roots if the stem resists a slight tug. This will typically take between 2 and 3 weeks.